خياطة وتطريز مخدة بالسموكس...
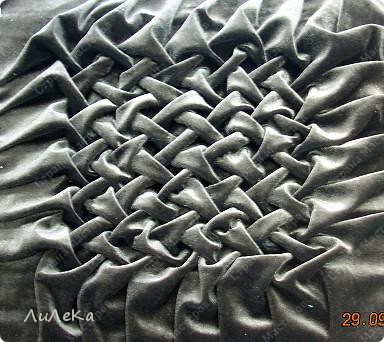
2.
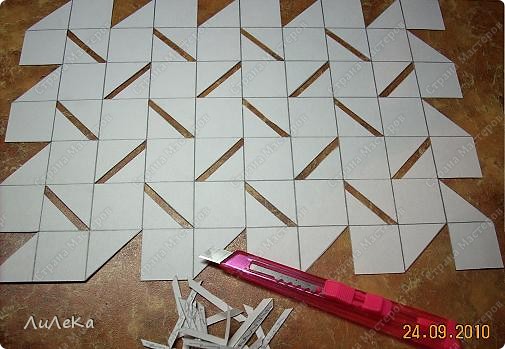
First make a template. Take a sheet of drawing paper and raschertite it into squares. The smaller the square, the smaller will drape ...
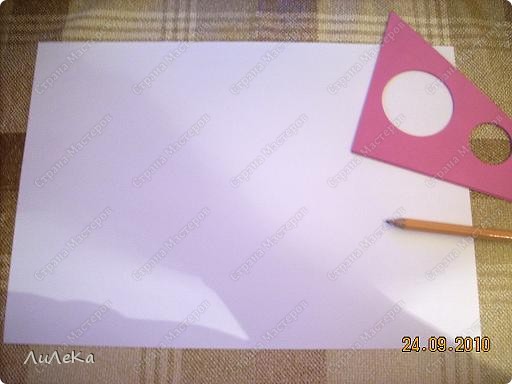
3.
I have a 3x3 cm can simply take a ruler and hold parallel lines along and across the ... (At the same time boast molbertikom ...)
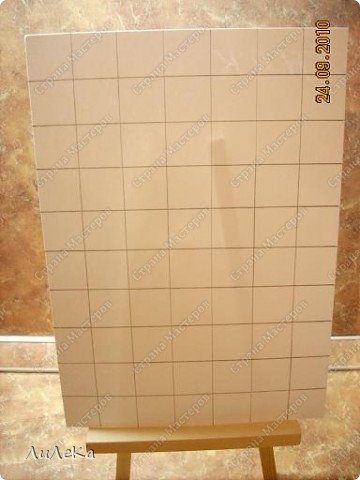
4.
Now drew a diagonal - a cell, in a checkerboard pattern, the slope of change ...
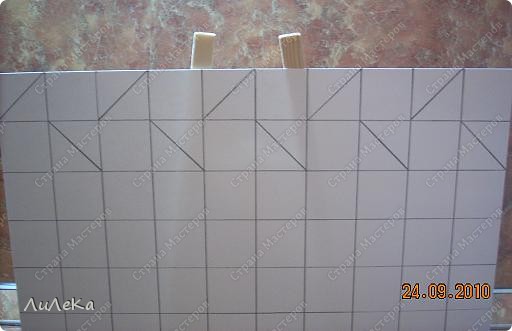
5.
It turned out this way.
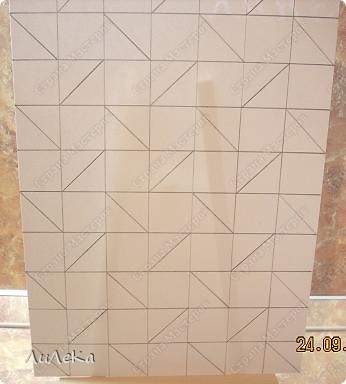
6.
Now you need to make cuts, make it easier to draw. On the edge of the cut triangles.
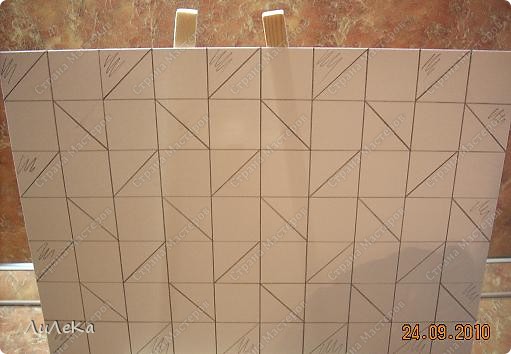
7.
That's ...
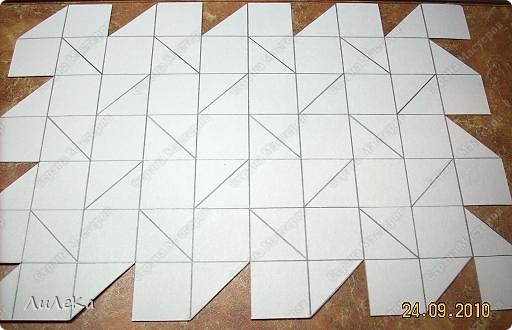
8.
Now you need to make a slit around the internal diagonals.
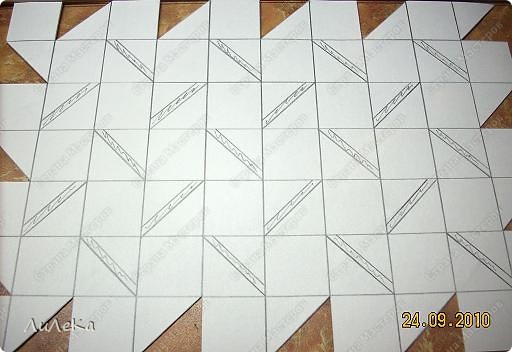
9.
Cut nail scissors or a knife stationery. Pattern is ready!
10.
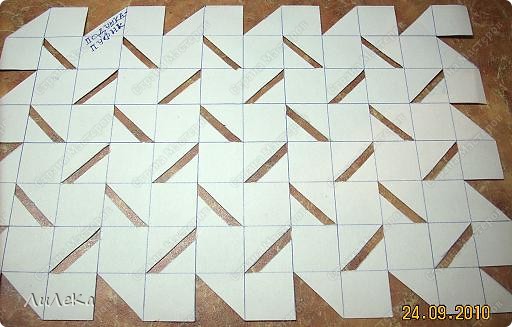
And here is a little narrower, at 2.5 cm
11.
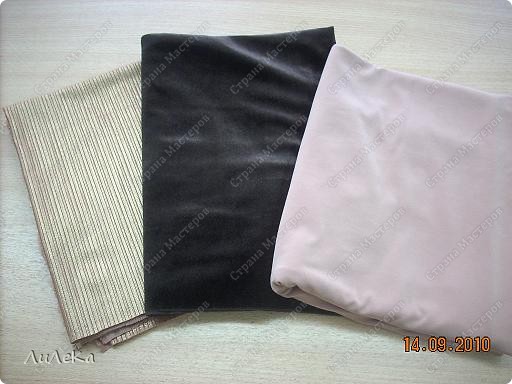
Now pick the fabric. Better, if monotonous, nemnuschayasya.
12.
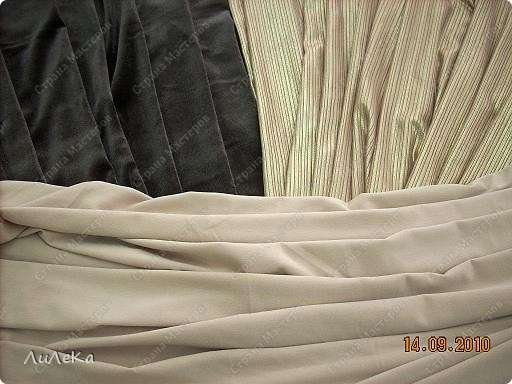
And should drape well to get beautiful folds.
13.
Cut a square (I 50x50 cm), cut off the edge.
14.
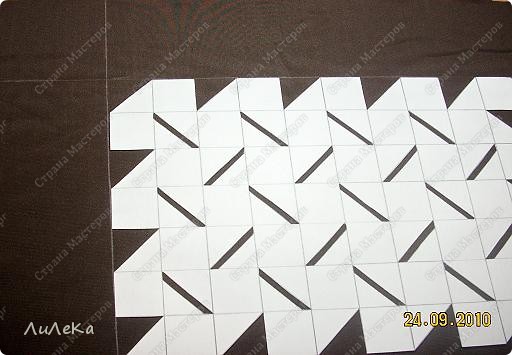
You can make the whole bag draped, and I prefer to step back from the edge at some distance (from 5 to 10 cm). I have here on all sides by 8 cm to every corner of the pattern and causes are putting line. It is better to make a marker of cloth or a pencil.
15.
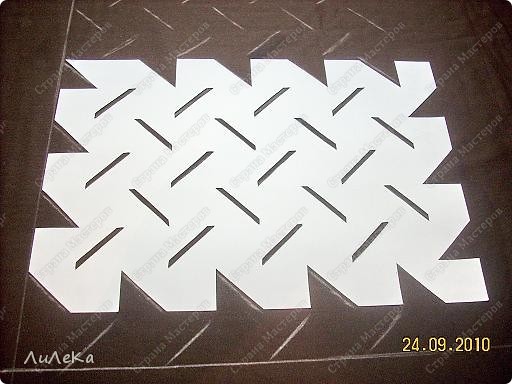
Move the template, combining the previous mark, down, and then to the side.
16.
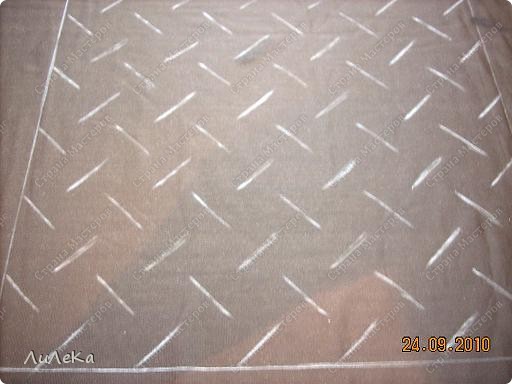
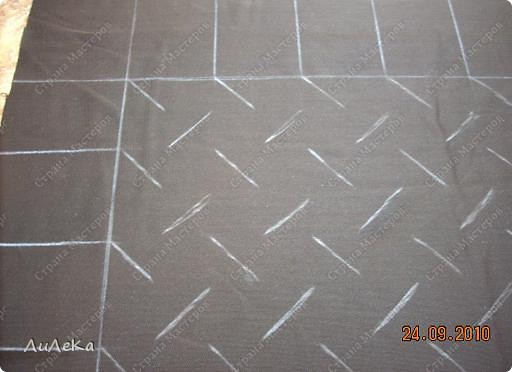
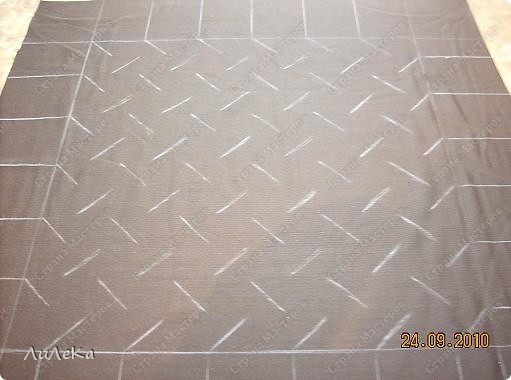
It should look like this. Check whether all the diagonal marked. I traced soap, but it is very easy to wash - restore lost a hyphen is quite problematic.
17.
Now we need to draw a line from the tops of the side diagonals.
18.
It will be like this.
19.
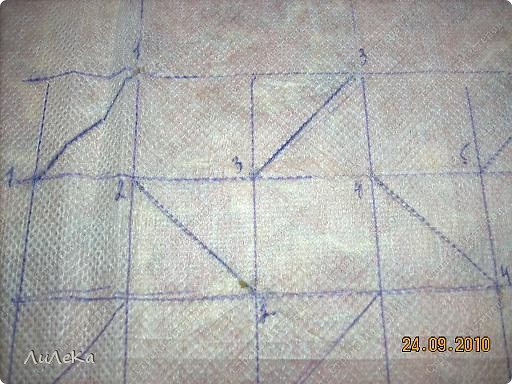
During the lesson, I use an auxiliary material that girls were more understandable. See how the numbered diagonal. 1-1 from the first row and 2.2 in the second ...
20.
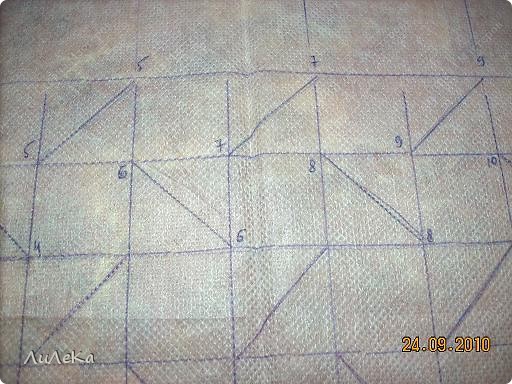
And so on ... I do not think you'll put the numbers, and so the principle is clear.
21.
Threads in color of the fabric in two additions. Enter the needle into the point 1, taking a bit of tissue, and once at a second end of the diagonal also grab the fabric.
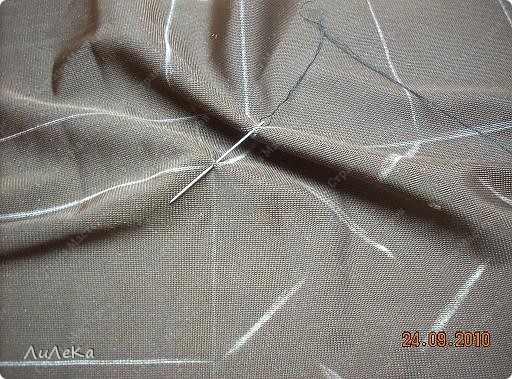
22.
Fasten together two folds 03/04 stitches, tying a knot, but do not cut the thread. Extend a thread to point 2 and repeat: 3-4 stitch knot.
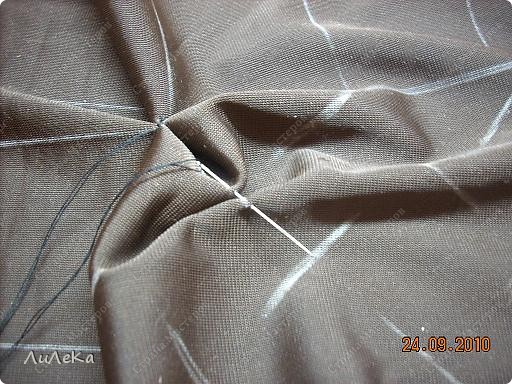
23.
We continue to attach the ends of the diagonals
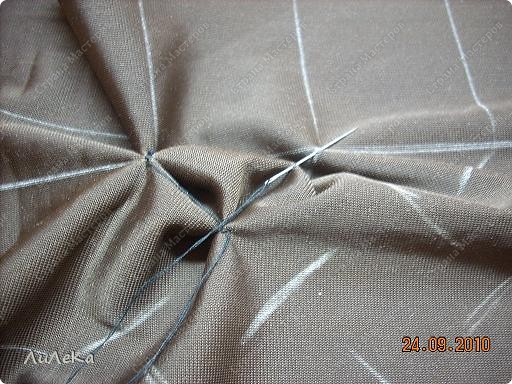
24.
One series is over.
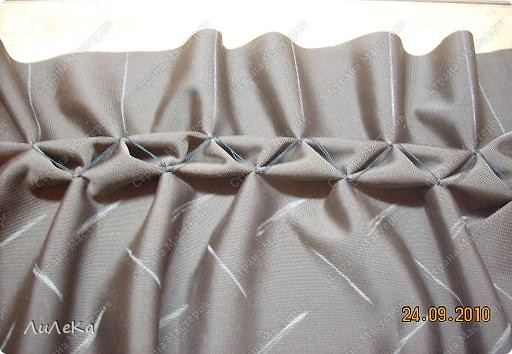
25.
So it looks like from the front. While not very visible pattern.
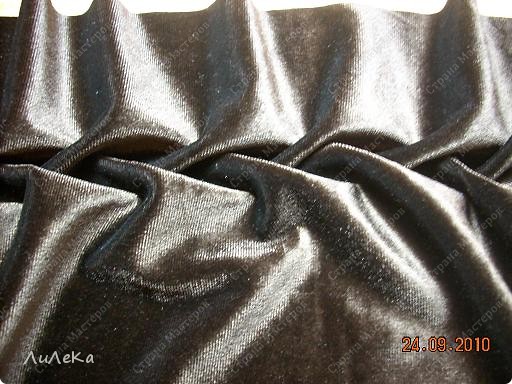
26.
Here are fastened four series (two pairs). Already visible braid.
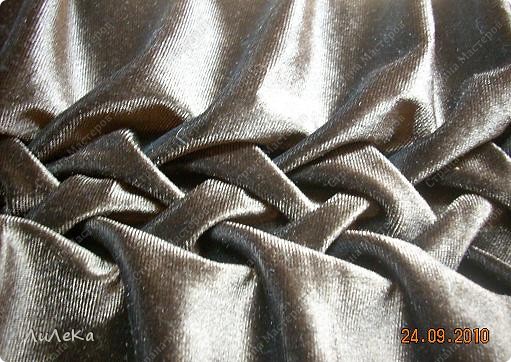
27.
Passed all the series. Believe me, it does not last long!
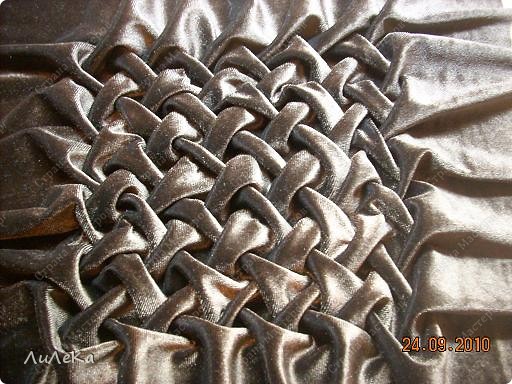
28.
Here is the underside. I must say that you can attach and one row, but then they will broach the long thread, which is not very convenient and even flow of threads increases.
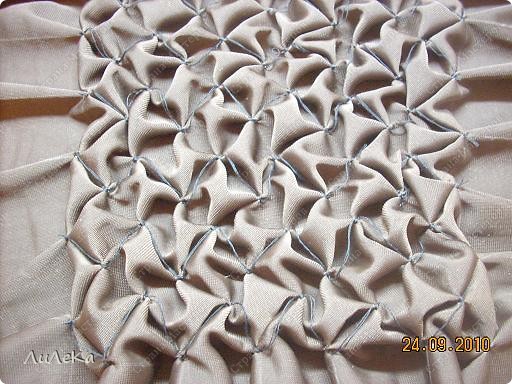
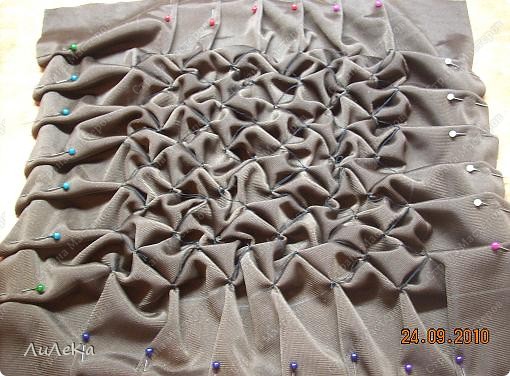
30.
You can stab the pin or staple yarns. Make sure that the sides are of equal length, if necessary, slightly alter the depth of wrinkles. The size I have now become a 35x35 cm
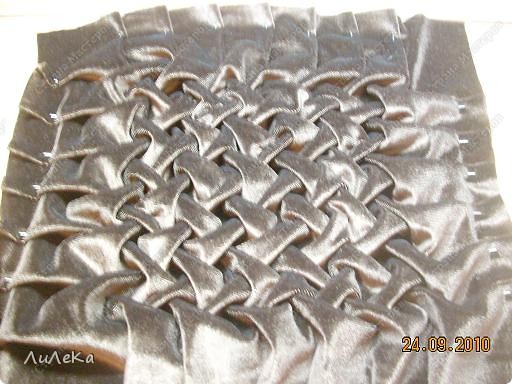
31.
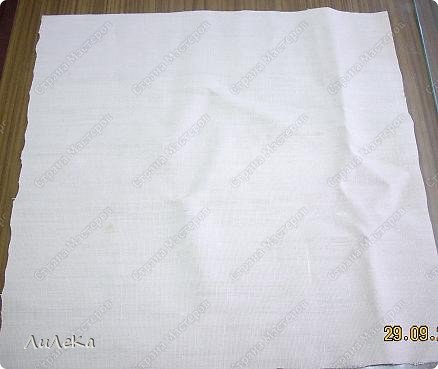
I have to say that this stage I do not always work. Cut out a square of any fabric to fit the pillow. The fabric should not be heavily stretched.
32.
Tack ready to drape on the base.
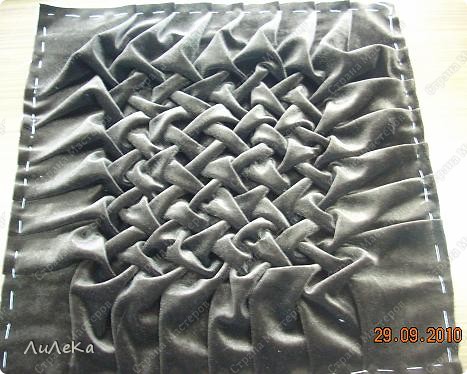
33.
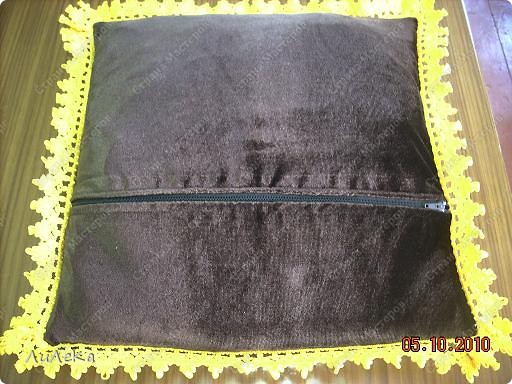
Rear side airbags are not draping, and make out on your own. You can carve it into two parts with the call, you can insert a zipper, sew Velcro, buttons ... You can just leave the hole and then sew it by hand, when the insert pad. I decided to do with lightning, so the duplicated edge adhesive tape.
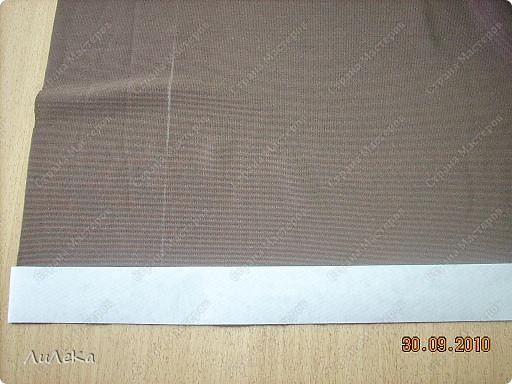
34.
Tack lightning ...
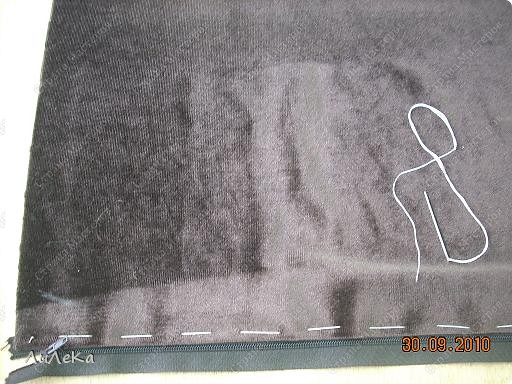
35.
Stitch, you now need to flash on the machine.
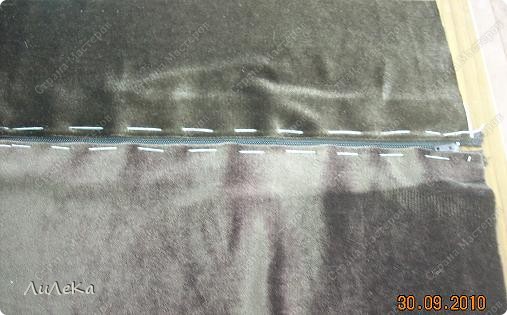
36.
It was then that I found a marriage in his work .... You see a different shade of two parts? Hurry up and taped adhesive film on the wrong side ... On velvet it is immediately obvious ... Have to remake!
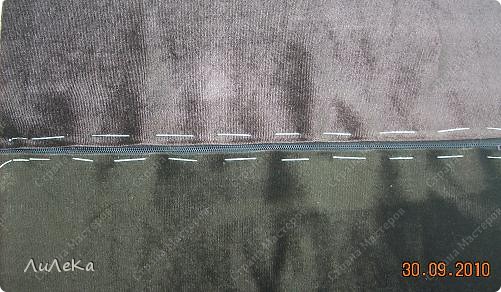
37.
Fasten the zipper machine stitching.
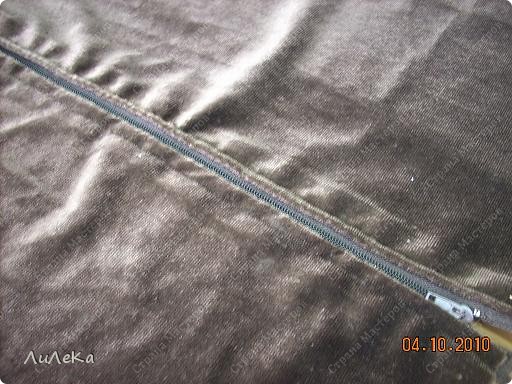
38.
Fold two pieces right sides pillows and baste on all sides. Do not forget to open the zipper, but it will not be able to turn out!
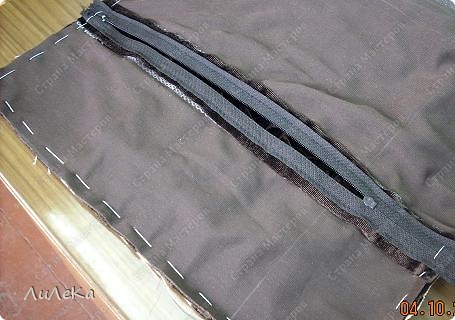
39.
Remove all temporary lines and handle sections (buttonhole by hand, to zigzag or overlock), so as not to crumble.
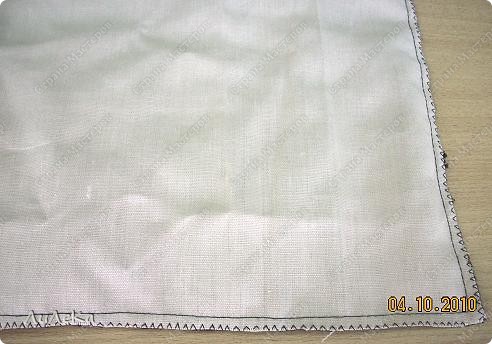
40.
Wriggle out through the open zipper and admire the beauty! I decided to decorate the braid of contrasting colors, sewing by hand in small stitches.
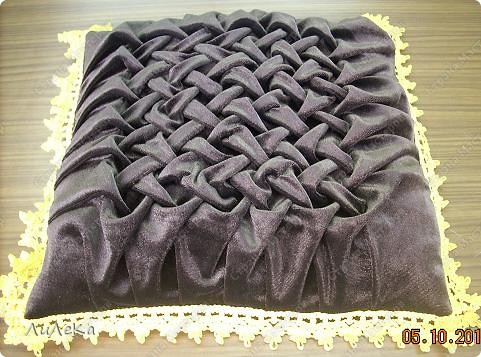
41.
Closer ...
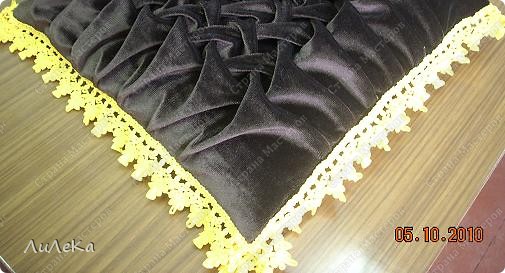
42.
And it's backside. Now all!

 Sewing the Ribbon to the Foundation Fabric
 Beginning at the mark starting on the extreme outer edge, start pinning along your line towards the center. Don't worry about the raw end of ribbon hanging off the side; we'll take care of that when we sew the front and back together. Now use a straight stitch to sew the gathered ribbon along the line. As I said before, this doesn't have to be a perfect straight stitch - the gather of the ribbon makes this very forgiving. When you've finished the first line, it should look like this:

Now continue gathering, pinning, and sewing:
 Until you've finished the first spool of ribbon.

When you get to the end, pin the start of your new ribbon to the end of your first ribbon, right on top with a 1 / 4 "overlap rather than right sides together as you usually do. Then use a zigzag stitch to attach the two. I usually go back and forth across the entire length to make sure it's nice and secure. It should look like this:

Now continue gathering, pinning, and sewing (and attaching ribbons depending on the length of a spool) until you reach the center.
 When you get to the center, just fold the very end over about 1 / 4 "and stitch the center down with a straight stitch in an x-shape at the center:


The gather should make it fluff enough that you can leave the center like this, but if you would like to add something, you could use a fabric flower, a fabric-covered button, or a decorative button just to give you some ideas.
Now you're done with your cover and ready to attach the back:
Now continue gathering, pinning, and sewing:
Until you've finished the first spool of ribbon. When you get to the end, pin the start of your new ribbon to the end of your first ribbon, right on top with a 1 / 4 "overlap rather than right sides together as you usually do. Then use a zigzag stitch to attach the two. I usually go back and forth across the entire length to make sure it's nice and secure. It should look like this:
Now continue gathering, pinning, and sewing (and attaching ribbons depending on the length of a spool) until you reach the center.
When you get to the center, just fold the very end over about 1 / 4 "and stitch the center down with a straight stitch in an x-shape at the center: The gather should make it fluff enough that you can leave the center like this, but if you would like to add something, you could use a fabric flower, a fabric-covered button, or a decorative button just to give you some ideas.
Now you're done with your cover and ready to attach the back:
 Finishing
 The trickiest part of attaching the back is avoiding the first line of ribbon. Just fold the ribbon towards the middle at the free side and pin the cover and the back with right sides together. At the very beginning of the ribbon along the edge, sew the raw edge of the ribbon sandwiched between the foundation fabric and back. It should look like this along the edge when you pin it:
 And this when you're done sewing:
Now carefully take out the pins holding the envelope closure together and flip it right-sides out through the opening. Stuff the pillow form into the cover:
 And you're done!
  خياطة غلاف للكتاب من القماش


ليست هناك تعليقات:
إرسال تعليق